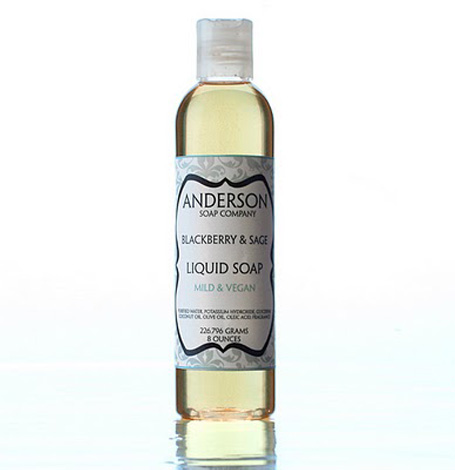
{DIY} Product Photography
As the old saying goes, “A picture is worth a thousand words.” Never has this been more true than in product photography.
Good quality product images are crucial to achieving sales and ensuring customer satisfaction.
Superior images also create an atmosphere of professionalism and enhance credibility, inspiring consumer confidence.
And when personal contact is not possible and the image alone is selling the product, top quality product photography is essential.
So when I came across this great DIY $12 studio quality product photography set up, that you can do in your home or office, I couldn’t wait to share it with all of you.
Here’s what you’ll need:
1. A cardboard box you can use to cut a piece from.
2. A roll of aluminum foil, it’s easier with a wider one.
3. A piece of tracing paper of at least 20” of width and 3 feet in length. You can also use any white, no color,
translucent material that you have around your home or office.
4. One 6” spring clamp.
And here’s where you can get the entire step-by-step instructions by Mariano/Handmadeology.
Plus… I’ve added a couple more images to show you how easy this is and inspire you to DIY!
If you end up using this set up to shoot some of your products, we’d love to see ‘em!
Image source:
-Photographer – Mariano, founder of Via U! photography.


Great post! I’m going to try this!