DIY Photo Light Box – for Fab Product Shots

Have you ever wondered how people get those gorgeous, bright white shots of their products? Here’s one way – and it uses an inexpensive diy photo light box!
By taking photos inside a box that diffuses natural light from all sides, you can remove harsh shadows and end up with a crisp white, magazine-like quality to your photos.

Supplies:
-Cardboard box (mine was 18x18x24)
-White tissue paper (purchased at the Dollar Store)
-Clear packing tape
-Utility knife
-White poster board since my box was so long, I used two pieces of poster board so that it reached the edge of my box (purchased at the Dollar Store)


How to:
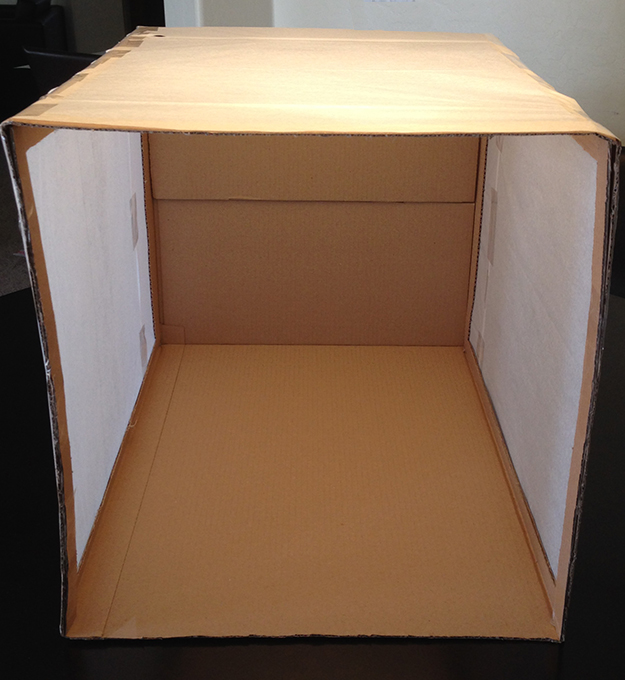
-Tape the bottom of the box
-Cut off the top side flaps of the box
-Cut out a rectangle 1” shy of the sides, on 3 sides of the box
-Tape together tissue paper, large enough to completely cover the opening of one side of the box. Create three of these
-Tape tissue paper to each (outer) open side of the box – It should look like this after you’ve covered all three sides
-Cut poster board to fit the (inside) width of the box
-Place the poster board in the box so that it curves inside the box
-Place box in as much light as possible
-Place your product or objects at the flat part of the poster board (inside the box)
-Take your photo(s).
Once I got my photos into Photoshop I didn’t have to do much to my images. I played slightly with the brightness/contrast and simply cropped.

Here is the after pic:
Okay – now it’s your turn! Trust me, you got this girl!!!
Special thanks to Valerie of Lily & Val for the beautiful chalkboard notecard! And SweetiesbyKim for the chocolate covered ‘chevron’ oreos. They were perfect for my photoshoot. Xo
Would you like your own box set of ‘You Got This Girl’ notecards? You can purchase them here.