How to apply removable, peel-and-stick wallpaper
With the right preparation and tools, removable, peel-and-stick wallpaper is easy to hang. Follow my tips and how-to instructions and you’ll achieve a beautiful removable wallpaper experience.

*This post contains affiliate links. And is also a sponsored post – Your Marketing BFF has received payment, trade and/or products from Love vs Design in exchange for this post. However, all opinions, tips and advice are my own.
By the way, this is the second time that I’ve used peel-and-stick wallpaper. My first removable, peel-and-stick wallpaper project was a feature wall in our transitional small powder room, which you can see here.
This time I wanted to do a feature wall in my home office. And it was important to have a wallpaper design that didn’t overpower the space.

Why?
Not only is this wall the first thing that you see as you look into my office, but it’s also the background in all of my client consultation zoom calls, Instagram live recordings and course trainings.


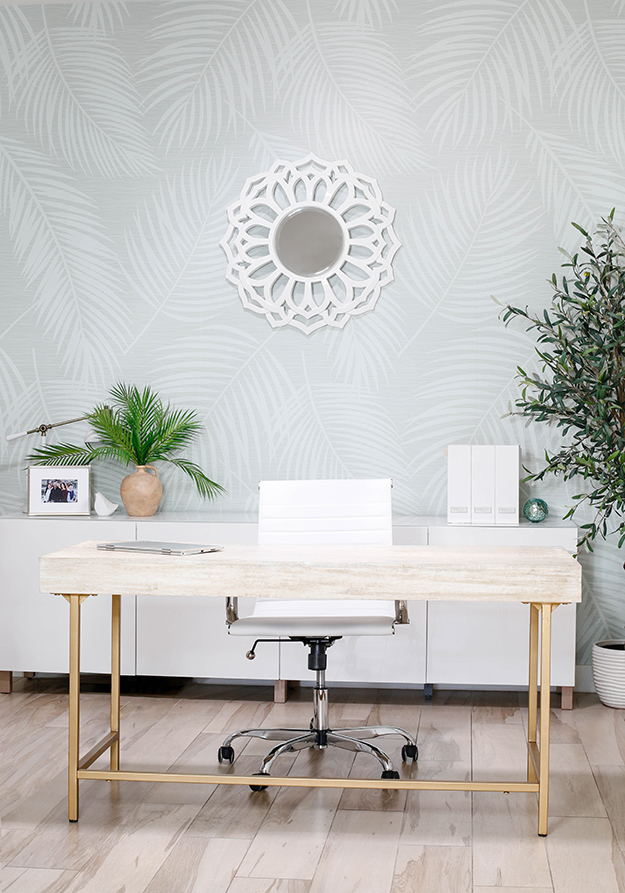
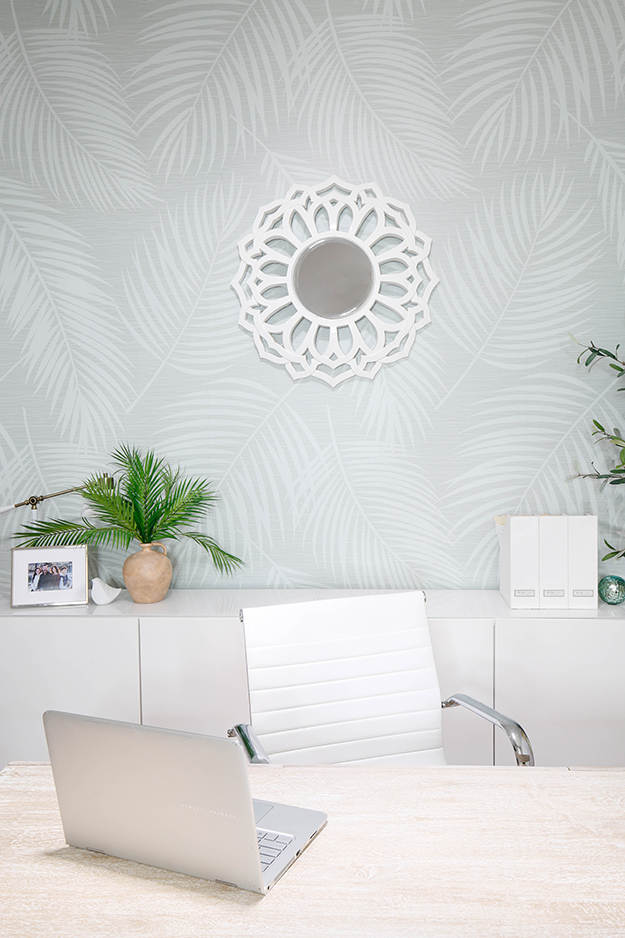
So, choosing the Rustic Palm wallpaper pattern by Love vs Design was the perfect choice for me.

This design added a beautiful, soft texture to an otherwise dull, flat painted gray background.
One of the things that I love about Love vs Design’s wallpaper is how you can take one of their wallpaper patterns and custom pick colors.
And, you can actually see the exact wallpaper pattern and colors you pick in rooms (to scale) on their site. This really helped me to visually choose the pattern and color choices that would work well together –and nail down the perfect wallpaper design for me and my space!
Since I wanted something fun, soothing, with a little bit of texture and depth to it, I chose the Rustic Palm wallpaper pattern with the following colors; Sage for the background, Fauna for the fronds and Salt for the texture.

Also, I chose to go with removable, peel-and-stick wallpaper because I wanted something that I wasn’t locked into forever. So, when I’m ready for a change, I can easily remove this wallpaper (damage-free) and replace it with another self-adhesive wallpaper.
Okay, let’s get started…
Here’s a few tools and tricks I’ve learned that will also come in handy to help you get the smoothest, bubble-free, and beautifully lined up results!
Supplies Needed:
- Sponge or cloth
- Mild cleaner (I used dish soap, warm water and a little bit of baking soda)
- Tape measure
- Straight edge level
- Pencil
- Peel-and-stick wallpaper
- Plastic smoothing tool (this came with my Love vs Design wallpaper)
- Straight edge
- Utility knife
- Ruler
Step-by-Step Directions:
Follow these instructions to apply removable, peel-and-stick wallpaper and quickly add pattern and color to your space!
Something to note: The self-adhesive backing doesn’t require any messy paste, and if you make a mistake while applying, you can pull it off and start again.
Step 1: Prep Walls
Safely remove light switch plates, outlet or vent covers in the area you plan to wallpaper.
Next, clean the wall by wiping it down with a damp sponge or cloth and a mild, non-abrasive cleaner.
Wait at least 24 hours so that the surface can dry completely.
Step 2: Put Panels in Order
Some wallpaper panels need to go up in a certain order. I had numbers at the bottom of each panel. Be sure to start with panel 1.
Note: My design went like this; panel 1, panel 2, panel 1, panel 2, etc. So be sure to check the order of your specific design.
Step 3: Make a Guide for Your First Piece
Measure the width of your peel-and-stick wallpaper, then subtract 1 inch. This will be the measurement you will mark on your wall with a pencil. Then use a straight edge level to draw a soft pencil line from the ceiling to the baseboard (or area that you are covering).
This guide will help you apply the first strip of wallpaper in a straight line.
Note: I like to start from the left-hand corner of the wall.
I have found with peel-and-stick wallpaper, it’s best to have two people, especially since the panels are so tall.
And the reason why I subtract 1-inch from the full width of the wallpaper is because I have found walls are never perfectly straight! So, to correct this problem I leave a 1-inch wallpaper overlap on the corner (that I later trim off). This allows me ‘wall space forgiveness’ and perfectly cut corners (as seen below).

Step 4: Apply Peel-and-Stick Wallpaper
I like to peel off about 6 inches of the adhesive backing from the middle of the wallpaper – this is why I also stated it’s best to have two people.
As one person holds the wallpaper up to the ceiling (again, I leave about a 1-inch overlap on the ceiling that gets trimmed at the end) the second person lines up the wallpaper with your line in the middle of the wall.
Moving from middle to the top, press and smooth the wallpaper against the wall while peeling off the remaining backing. Using downward strokes, run a plastic smoothing tool along the wall to remove air bubbles.

Then move from the middle to the bottom, press and smooth the wallpaper against the wall while peeling off the remaining backing. Using downward strokes, run a plastic smoothing tool along the wall to remove air bubbles.
If any air bubbles remain, use the tip of your utility knife or a pin to create a small hole in the middle of the bubble. Then, press down to release the air trapped inside and smooth the wallpaper.
Step 5: Match Patterns and Repeat
When applying subsequent panels, peel away the center backing from the middle of the wallpaper and line up the wallpaper’s pattern in the middle of the wall (while person #2 is holding the panel near the ceiling) to ensure a seamless look from top to bottom.
Love vs Design wallpaper has you overlap each panel by 1-inch and run the smoothing tool along the seam to make it lay as flat as possible.
Again, moving from middle to the top; align the pattern, as you press and smooth the wallpaper against the wall while peeling off the remaining backing. Using downward strokes, run a plastic smoothing tool along the wall to remove air bubbles. Repeat moving from the middle to the bottom.
Note: I didn’t have a panel overlap with my last peel-and-stick wallpaper project, so you may or may not have an overlap depending on your wallpaper manufacturer.
Repeat to cover the entire wall/surface.
Step 6: Work Around Windows and Outlets
When you reach a window, door frame or outlet, let the wallpaper overlap it. Once the piece is applied, use a straight edge and utility knife to trim and remove the excess.
Next, smooth the paper against the wall around all sides of the outlet or window. Use a utility knife to carefully cut away the paper over the opening. Don’t worry about rough edges around the hole; the outlet cover or switch plate will hide most imperfections.
Note: You can also apply paper to flat plates for a seamless look, I don’t do this, but you might.
Step 7: Trim off Excess
Once you’ve covered the entire wall, use your ruler and utility knife to carefully cut along the baseboard, ceiling and corners to remove any excess wallpaper.
That’s it!

I hope this post on how to apply removable, peel-and-stick wallpaper with ease has provided you with the confidence to tackle your own, gorgeous DIY removable wallpaper project!
